Tia Nellisa Binti Noor Badrol Akram (0320027)
Introduction to Photography
"Shutter Speed and ISO"
Lecture:
Last week, we were told to do a research about shutter speed and ISO. As usual, today we start our discussion about it. We discussed about ISO first and after that, Mr. Vinod gives us a briefing of it, also the answer for the question which left unanswered. We were later told to sit into groups to do a discussion, based on ISO, about our exercise. After Mr. Vinod came to each of the group one by one, we begin to do our exercise outside. After that, we come back to the classroom and start a discussion about shutter speed. Again, Mr. Vinod gives us a briefing about it later on. He even gives us an exercise based on shutter speed, which we have to do it at home.
Objectives:
To learn to take pictures using the manual mode of their camera.
Instructions:
Instructions for Exercise 2(b) Shutter Speed (5%):
- Using a ceiling fan, keep the fan speed at 1
- Capture images using shutter settings from 1/1000th of a second till 1/4th of second.
- Repeat this exercise after changing the fan speed from 1 to 2 and then from 2 to 3 and so on.
Marking Criteria:
The student must capture evidence of the Shutter’s ability to freeze fast moving objects and blur moving objects.
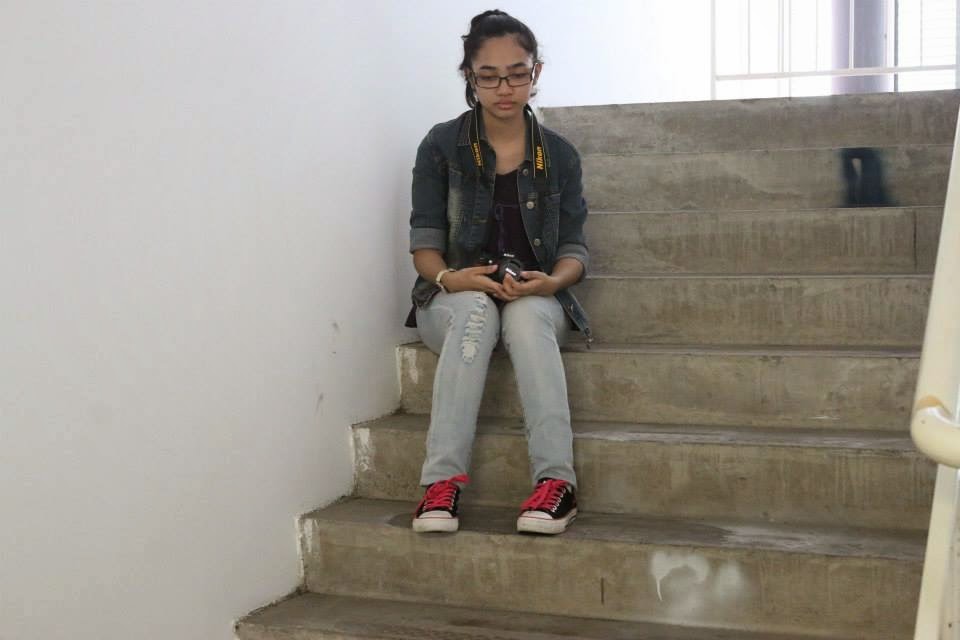
Exercise 2(b) Shutter Speed
(Screen Shots)Hardcopy of Exercise 2(b) Shutter Speed
.jpg)
.jpg)
Instructions for Exercise 2(c) ISO (5%):
Exercise 2(c).1
From the discussion and presentation, we know that ISO effects exposure, your task is to prove this to be true.
Exercise 2(c).2
From the discussion and presentation, we know that when the ISO is increased the quality of the picture gets effected, your task is to prove this to be true.
Exercise 2(c).1 ISO

ISO: 200
Shutter Speed: 1/15
Aperture: F5.6
 \
\
ISO: 400
Shutter Speed: 1/15
Aperture: F5.6

ISO: 800
Shutter Speed: 1/15
Aperture: F5.6

ISO: 1600
Shutter Speed: 1/15
Aperture: F5.6

ISO: 3200
Shutter Speed: 1/15
Aperture: F5.6

ISO: 6400
Shutter Speed: 1/15
Aperture: F5.6

ISO: 12800
Shutter Speed:1/15
Aperture: F5.6
(Screen Shots)Hardcopy of Exercise 2(c).1 ISO
.jpg)
.jpg)
Exercise 2(c).2 ISO

ISO: 200
Shutter Speed: 0''8
Aperture: F6.3

ISO: 400
Shutter Speed: 0''4
Aperture: F6.3

ISO: 800
Shutter Speed: 1/5
Aperture: F6.3

ISO: 1600
Shutter Speed: 1/10
Aperture: F6.3

ISO: 3200
Shutter Speed: 1/20
Aperture: F6.3
ISO: 6400
Shutter Speed: 1/40
Aperture: F6.3

ISO:12800
Shutter Speed: 1/80
Aperture: F6.3
Screen Shots)Hardcopy of Exercise 2(c).2 ISO

.jpg)
Feedback :
Specific feedback:
Mr. Vinod told I did a good work but for the ISO exercise, he told that it would be better if I completed the work on my own, not relying on the group picture only. Overall, he said that the exercises were accurate and had answered the question. He even told me that the reflection should reflect on 2 areas, first is about the in-class activities (for example: discussion, presentation); Second, the results of my exercise. Mr. Vinod told me that he was very happy I did an extra exercise about the ISO, as I acted on my curiosity and experiment it out; he said I did an excellent work about it.
General feedback:
Mr. Vinod said that when we do our exercise, it needs to be black and white, as well for our hardcopy. For the exercise, whether we did it together in a group or not, we must do an individual task for that certain exercise as well. For reflection, Mr. Vinod also said that we not only need to write about what happen in class, but also what happen regards with the exercise we all did. Try to explain it in the form of what we understand based on our experience and try to find out what would happen if we did this or did that? Be adventurous in photography. Don’t only be an active learner, but also a deep learner, so that we will understand it even more. Become the scientist and ask a lot of question about the things we done so far. Like Mr. Vinod always say, “Take a stab at it”.
Reflection:
Experience:
From today class, I realize that we are still not used to this group discussion because there was an awkward silent sometimes. But as we went on, we all began to asked questions that never came across our minds before. It was refreshing because I can’t figure out the answer to that question. As for today’s exercise about ISO, we did it with my group and it was fun. It makes me even closer with my classmates as we help each other when we are having problem regarding with the exercise.
Observation:
I realize that we need to understand more what a group discussion really is and Mr. Vinod told us that we need at least 5 questions for the next class based on what we researched. I can understand why he told us that because since we are still not used to this group discussion. To become an active learner, we need to keep on asking question. When that kind of question been answered, we gain more knowledge about what we study about. Sometimes the questions are very rarely heard before and that’ll makes us gaining more knowledge about photography. I also realize that we need more teamwork regarding the exercise Mr. Vinod gives us about ISO because during the discussion about it, we didn’t really discuss about it thoroughly.
Findings:
At today class, I really like I’ve become more confidence in asking questions because usually I don’t normally do that. One by one we are all becoming more like an active learner. There are so many things I’ve yet need to learn about photography. I’m happy with my teammates but we definitely need more teamwork during discussion in the future as well.
Additional Information :
During the group discussion, I've asked "Do we need flash when using ISO?". So I did my own experiment.

This picture was taken in a pitch black room using ISO 3200.

This picture was also taken in the same pitch black room using ISO 3200 WITH FLASH
Thus, I realized some scene do require flash and ISO at the same time.
However, I wanted to see the difference between a low ISO and a high ISO when using a flash. (Both are still in a pitch black room)

This picture above using ISO 100 with flash.

This picture above using ISO 3200 with flash.
Thus, I notice that different ISO produce a different amount of brightness when using flash.


Arts.JPG)
the+backyard.jpg)
books.jpg)
sirih.jpg)
dead+tree.jpg)
+kristian-schuller-fashion-photography-5.jpg)
+36b0be3c9ddda68958b7008f737fdef6.jpg)
+8a0ac0876d50db47342660ba0166ffcc.jpg)
+avant-garde-fashion-photography-1347885892_b.jpg)
+dead_flowers_winter09_004.jpg)


